


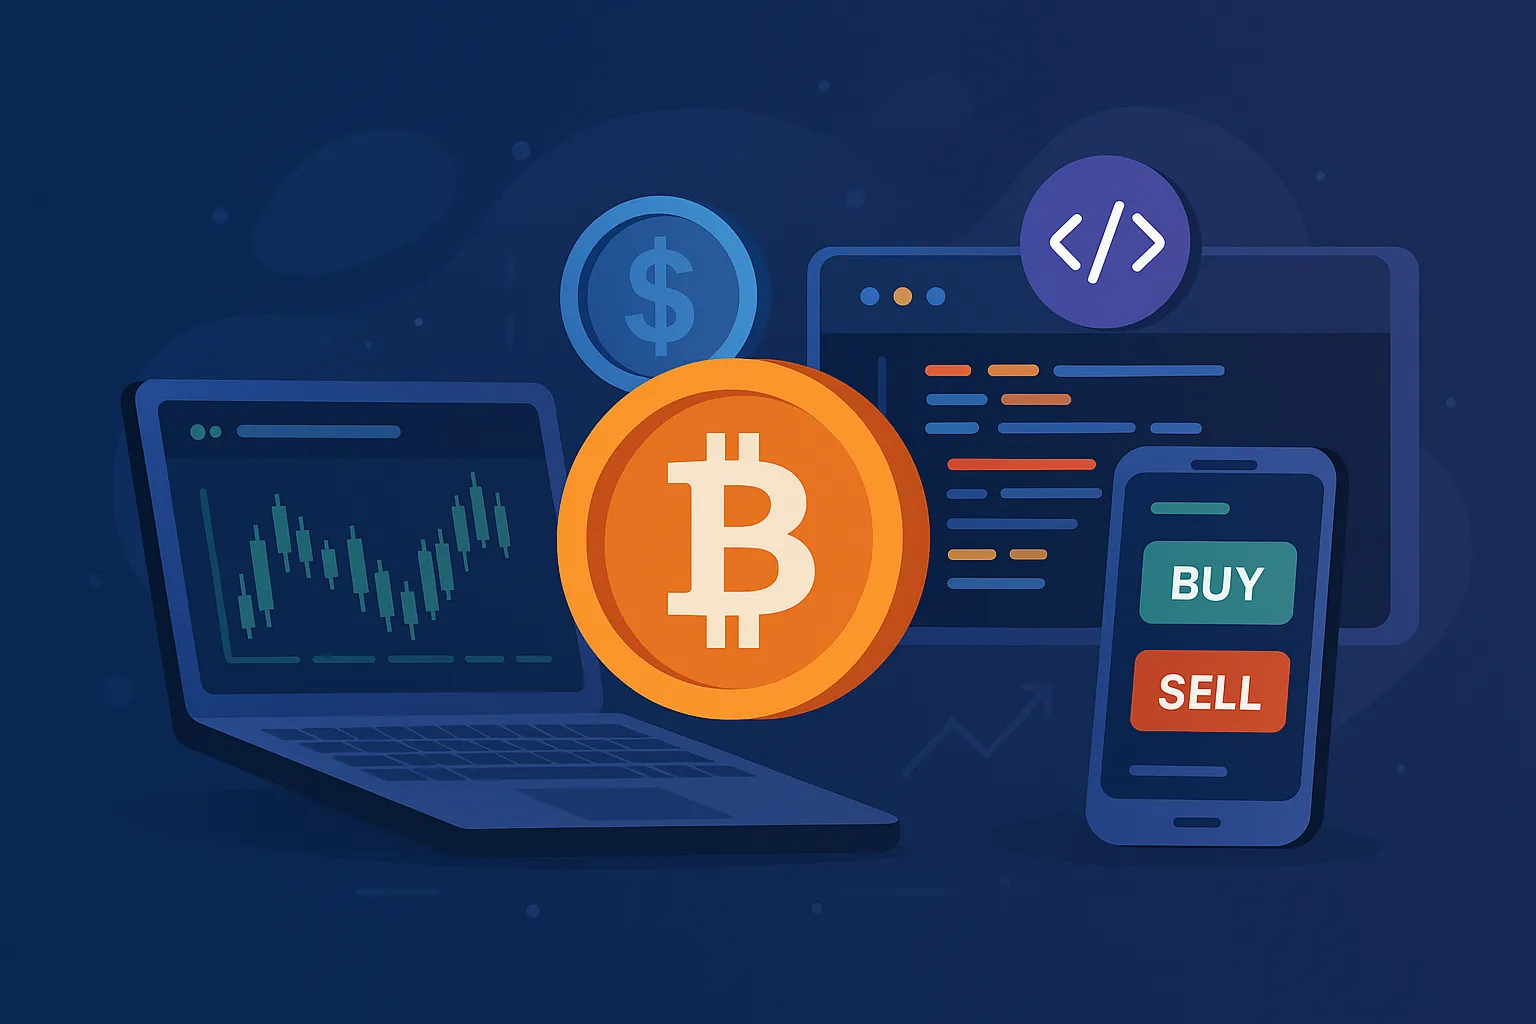
If you’re thinking about launching a peer-to-peer crypto exchange an App Like LocalBitcoins , you’re not alone—and you’re not late either. With regulatory landscapes shifting, more crypto traders leaning toward non-custodial, privacy-friendly platforms, and mainstream exchanges increasingly requiring rigid KYC processes, a LocalBitcoins-style platform remains both relevant and profitable in 2025.
In this guide, I’ll walk you through how I built a LocalBitcoins clone from scratch—first using a JavaScript stack (Node.js + React) and then exploring a PHP route (Laravel). I’ll break down the architecture, decisions, and challenges as if I’m explaining to a fellow founder or dev team.
Whether you’re a startup founder planning to launch in a specific region, an agency fulfilling a client’s request, or a bootstrapped entrepreneur looking for a technical roadmap—this one’s for you.
Tech Stack: Choosing Between JavaScript and PHP for Your LocalBitcoins Clone
When I started building the LocalBitcoins-style platform, the first big decision was the tech stack. I had two strong contenders—JavaScript (Node.js + React) and PHP (Laravel). Both have their advantages depending on your product goals, scalability expectations, and development team structure.
JavaScript Stack: Node.js + React
For startups that want real-time updates, high concurrency, and a fast-moving frontend, Node.js and React are a solid match. Node’s event-driven architecture fits beautifully with the dynamic nature of crypto trading. React gives you the ability to build modular, reusable components, which is perfect for dashboards, user trade interfaces, and admin panels that need to be lightning fast.I used Express.js for routing, JWT for authentication, and WebSockets (via Socket.IO) to push real-time trade status updates, message threads, and escrow confirmations. This setup works great if you’re aiming for a responsive, API-driven backend that supports mobile apps and web simultaneously.
PHP Stack: Laravel or CodeIgniter
For founders looking for a faster MVP, Laravel can be a strong choice. It offers elegant syntax, built-in auth scaffolding, and good support for RESTful APIs. Laravel’s blade templating engine is more than enough for the initial version, and you can later decouple the frontend if needed.I’ve also experimented with CodeIgniter in past builds where server resource constraints were a concern. It’s lightweight and fast, though I’d still recommend Laravel for most use cases due to its ecosystem and developer friendliness.
When to Choose What
Go with Node.js + React if you want:
- Real-time trading and messaging
- A clean separation of frontend and backend
- Easier scaling through microservices
- Modern dev pipeline with tools like PM2, Docker, and CI/CD
Pick Laravel (PHP) if you want:
- Faster development cycles for MVP
- Simple server-side rendered pages
- Readily available PHP developers
- Easier hosting on shared/VPS environments
Both stacks work well, but choose based on your long-term vision. I’ve built in both—and the best stack is the one your team can maintain with confidence.
Read More : Best LocalBitcoins Clone Scripts in 2025: Features & Pricing Compared
Database Design: Structuring for Flexibility, Security & Speed
Designing the database for a LocalBitcoins clone required a lot of forethought. We’re not just storing user data—we’re handling sensitive wallet balances, trade states, chat histories, and KYC records. That means the schema has to be secure, modular, and flexible enough to support both custodial and non-custodial flows.
Core Tables Overview
Here’s the simplified schema I used across both stacks:
Users
- id (PK)
- username
- password_hash
- kyc_status
- is_verified
- created_at
Wallets
- id (PK)
- user_id (FK to Users)
- currency (BTC, USDT, etc.)
- balance
- created_at
Trades
- id (PK)
- buyer_id
- seller_id
- offer_id (FK to Offers)
- status (pending, completed, disputed, etc.)
- escrow_txn_id
- created_at
Offers
- id (PK)
- user_id (FK to Users)
- type (buy/sell)
- price
- payment_methods (JSON array)
- currency
- location
- min_limit
- max_limit
Messages
- id (PK)
- trade_id (FK to Trades)
- sender_id
- message
- attachment_url
- sent_at
KYC_Documents
- id (PK)
- user_id (FK to Users)
- document_type
- document_url
- verified_by_admin (bool)
MongoDB (Node.js) vs MySQL (Laravel)
For the Node.js stack, I used MongoDB with Mongoose because it allowed flexible schemas, especially for handling dynamic trade conditions, user preferences, and payment options stored as embedded JSON. It also scaled better horizontally when load testing chat and trade history queries.For the PHP/Laravel stack, I stuck to MySQL with strict relational integrity. Laravel’s Eloquent ORM made relationships like user → wallet or trade → messages super intuitive to work with. I added indexing on trade status, user_id, and offer_id to keep queries snappy.
Why This Matters
Whether you’re dealing with escrow flows or dispute resolutions, your database has to allow for audit trails. For every trade, I track timestamps of every update—ideal for proving who did what and when, especially if you plan to integrate a support module later.
Read More : LocalBitcoins Features List: What Made It the P2P Crypto OG?
Key Modules & Features: Building the Core of a P2P Crypto Exchange
When you’re cloning an app like LocalBitcoins, the biggest challenge isn’t the UI—it’s the backend logic that powers everything from trade matching to dispute resolution. I broke the platform into modular components so that each piece could evolve independently over time. Whether you’re going JavaScript or PHP, here are the critical modules I implemented.
1. User Onboarding & KYC
In Node.js, I used JWT for token-based sessions, bcrypt for password hashing, and Multer for file uploads (e.g., KYC documents). Once the user uploads an ID or proof of address, it gets stored on AWS S3 with metadata. Admins get a separate dashboard to review and approve documents using Role-based Access Control (RBAC).In Laravel, I leveraged Laravel Breeze for auth scaffolding and built the KYC upload system using Laravel’s Storage and Queue features. Admin approval status was controlled via simple boolean flags, and I used Laravel Policies to restrict access to KYC APIs.
2. Offer Listing & Search Filters
Users can post Buy or Sell offers with details like price, payment method, limits, and location. In Node.js, the backend handled dynamic filtering using MongoDB queries with regex for location and indexed price fields for range filters. In PHP, Laravel’s Eloquent allowed me to apply chained filters using query scopes for pagination, currency, payment method, and limits.Filters were exposed via URL query params on the frontend (e.g., /offers?type=sell¤cy=BTC&location=India) and supported infinite scroll with throttled fetches.
3. Trade Escrow Logic
This is the heart of the system. When a buyer initiates a trade, funds from the seller’s wallet are locked into escrow (on-platform balance).In Node.js, I used atomic updates in MongoDB with transaction sessions to avoid double-spending. In PHP, I implemented Laravel’s DB::transaction() to handle the locking, ensuring either both wallet updates succeed or none at all.Escrow release happens only when both parties confirm, or if the admin resolves a dispute. This logic is built into the trade controller and is separate from wallet logic for clear separation of concerns.
4. Chat System (Per-Trade)
Each trade creates a secure messaging thread between buyer and seller. With Node.js, I used Socket.IO to create real-time channels tied to a trade ID. Messages are stored in Mongo and broadcast to subscribed clients instantly.In Laravel, I used Laravel Echo + Pusher (or Redis pub/sub for self-hosted) for WebSocket messaging. If you’re skipping WebSockets for MVP, fall back to polling every 3 seconds via AJAX.
5. Admin Panel
The admin panel lets staff manage users, offers, disputes, KYC docs, and view audit logs. In both stacks, I used a role system where admins have full CRUD over all modules.In React, the dashboard uses protected routes, Axios for API calls, and DataTables for listing. In Laravel Blade, I used standard Bootstrap-based tables with pagination and AJAX search for scalability.
Read More : LocalBitcoins App Marketing Strategy: How to Go Peer-to-Peer and Viral
Data Handling: Balancing API Integrations and Manual Listings
One of the most important architectural decisions was how to support dynamic crypto pricing and listings. Should everything be entered manually, or should we integrate with third-party APIs like CoinMarketCap, Binance, or Chainlink for real-time rates? I built the platform to support both approaches so that it remains flexible for different markets and business models.
Third-Party API Integration for Pricing
In the Node.js stack, I used Axios to pull real-time prices from Binance’s REST API every 60 seconds. A scheduled cron job would fetch BTC/USDT and ETH/USDT rates and cache them in Redis. Offers would then use this live rate as a base for calculating the local price based on a percentage markup.In Laravel, I set up scheduled Artisan commands using Laravel Scheduler. The API calls were made with Guzzle, and I stored the fetched rates in a currency_rates table. To reduce load, I cached the response using Laravel Cache and auto-invalidated it every minute.
Dynamic Price Adjustment
Traders can set their offers as “dynamic” (tied to live rates) or “fixed.” For dynamic ones, the system auto-adjusts the price using a formula like:
offer_price = live_price + (live_price * markup_percentage / 100)
This allows sellers to always stay competitive without manually updating their listings.
Manual Listings via Admin Panel
In markets where APIs are not stable or reliable, I built a manual mode. Admins can go into the backend and set static prices for any crypto/currency pair. This is useful in regions with fiat instability or regulatory restrictions where dynamic pricing could cause issues.Both Node.js and Laravel implementations had admin routes with form-based controls, protected by role middleware. Input validation was a priority—I used Joi schema validation in Node and Laravel’s FormRequest in PHP.
Hybrid Support for Offers
Each offer record has a flag is_dynamic. When true, the system pulls the rate from cache and applies the markup. When false, the entered price field is used directly. This hybrid approach gives full flexibility without breaking the user experience.
API Integration: Structuring Secure & Scalable Endpoints
A good LocalBitcoins clone needs clean, secure, and well-documented APIs. These endpoints aren’t just for the frontend—they support mobile apps, third-party KYC tools, and even payment verifications. I made sure both the Node.js and Laravel versions had RESTful APIs with clear versioning, error handling, and authentication.
API in Node.js (Express.js)
For the Node.js stack, I used Express with modular routers. All endpoints were prefixed with /api/v1/ for versioning. Here’s a sample endpoint for initiating a trade:
POST /api/v1/trades
Headers: Authorization: Bearer <token>
Body:
{
  "offer_id": "12345",
  "amount": 0.01,
  "currency": "BTC"
}
The controller logic would:
- Validate JWT and user account status
- Fetch the offer and validate amount limits
- Lock funds into escrow (MongoDB transaction)
- Create the trade record
- Notify the seller via WebSocket
Error responses used a consistent format like:
{
  "success": false,
  "message": "Insufficient balance"
}
API in Laravel
Laravel made this flow elegant. I used api.php for routing, and Auth::guard('sanctum') for token validation. Here’s the equivalent controller route:
Route::middleware('auth:sanctum')->post('/v1/trades', [TradeController::class, 'store']);Within TradeController@store, the logic mirrors Node’s:
- Validate input using a FormRequest
- Fetch offer and check user wallet
- Start a
DB::transaction()to lock funds and save the trade - Return response via Laravel’s
response()->json()
Laravel also made rate-limiting easy via middleware, so I applied burst control on endpoints like login, trade initiation, and messaging.
Security & Tokens
I used JWT in Node.js and Laravel Sanctum in PHP. All user actions require token-based auth. For added security, I implemented IP-based session tracking and device fingerprinting in both stacks—useful for fraud detection and dispute resolution.
Reusability & Documentation
I documented the APIs using Swagger UI in Node.js and Laravel API Resources for PHP. This made it easier for frontend teams or mobile developers to integrate without confusion.
Frontend + UI Structure: Designing for Trust, Speed & Mobile Usability
For a peer-to-peer crypto marketplace like LocalBitcoins, the frontend isn’t just about looks—it’s about building trust, making trades fast, and working well on all devices. I approached the UI with real users in mind: crypto newbies, regional traders, and mobile-first users who expect clarity and responsiveness.
React Frontend (with Node.js Backend)
I built the frontend using React with Vite for faster bundling and development. I used React Router for client-side routing and Context API for global auth state. The app shell includes:
- Header: with wallet balance, quick KYC status, and language switch
- Main View: offer listings, trade interface, chat, and escrow controls
- Sidebar: contextual depending on view (filter options or help center)
- Footer: localized links, terms, and contact support
For mobile users, I created a responsive layout using Tailwind CSS. Components like offer cards, chat windows, and dispute forms collapse intelligently into tab-based mobile views. I used lazy loading and skeleton loaders to keep things fast even on 3G connections.
Blade Templates (with Laravel Backend)
For Laravel, I initially used Blade templates with Bootstrap 5. The structure followed a traditional MVC layout with:
layouts/app.blade.phpfor header/footerresources/views/offers/index.blade.phpfor listing pagesresources/views/trades/show.blade.phpfor the trade interface
With Laravel Mix and Alpine.js, I added interactivity without needing a full SPA. This kept things server-rendered and SEO-friendly, while still allowing for modal dialogs, toast alerts, and live countdowns during trades.
Component Breakdown
Whether React or Blade, these were the core components:
- OfferList: shows buy/sell offers with real-time filters
- TradeInterface: includes trade chat, countdown timer, escrow status, and payment instructions
- UserProfile: shows ratings, reviews, KYC status, last seen
- AdminDashboard: user search, KYC reviews, dispute queue
I also ensured dark mode support with Tailwind’s class strategy and consistent use of tokenized colors to allow future theming. Accessibility was baked in from day one with focus management, ARIA labels, and contrast testing.
Read our complete guide on how to hire the best LocalBitcoins clone developer to build a secure and scalable P2P crypto exchange platform.
Authentication & Payments: Securing Access and Handling Money Right
Security is everything when you’re building an app like LocalBitcoins. One mistake in auth flow or payment handling and you’ve got a disaster. I approached this layer with extra care—hardening both access control and transaction safety across Node.js and Laravel stacks.
User Authentication
In Node.js, I implemented JWT-based authentication with access and refresh tokens. I used jsonwebtoken for token signing and bcrypt for password hashing. Login attempts were rate-limited using express-rate-limit, and I stored refresh tokens in a secure HttpOnly cookie. Every protected route checked for a valid token using middleware and rejected stale sessions with proper HTTP status codes.In Laravel, I chose Sanctum for API token management. It provided a great balance between session-based and token-based auth, especially when supporting mobile clients. Passwords were hashed with Laravel’s built-in Bcrypt and login throttling was enabled out of the box. I used custom middleware to restrict unverified users from accessing core modules like trading and wallet funding.
Two-Factor Authentication (2FA)
I added optional 2FA in both stacks using Time-Based OTP (TOTP). In Node.js, this was done with speakeasy and QR codes via qrcode package. For Laravel, I used the pragmarx/google2fa-laravel package. The frontend handled OTP entry and fallback recovery codes for account reset. This added a layer of trust for high-volume traders and helped reduce fraud.
Wallet & Internal Transfers
I implemented internal wallets for BTC and USDT. In both stacks, the balance logic is strictly separated from trade flow to avoid race conditions. All updates to wallet balances (escrow holds, release, refunds) use atomic database operations:
- Node.js: MongoDB with session-based transactions
- Laravel: MySQL with
DB::transaction()blocks
Balances are always logged in a ledger-style wallet_logs table/collection for transparency and auditing.
Fiat Payments (Stripe/Razorpay)
For fiat gateways, I integrated Stripe (international) and Razorpay (India) depending on the market. In Node.js, I used the official Stripe SDK with webhook listeners to confirm payments before marking offers as funded. Razorpay was integrated using REST APIs and webhook verification using signature validation Laravel’s integration followed a similar pattern using Cashier for Stripe and direct SDK for Razorpay. Webhooks trigger wallet top-ups or fiat confirmations tied to a fiat_transactions table.
Crypto Transfers (Optional)
For markets needing crypto withdrawals, I used third-party custodial APIs (like BitGo or NowNodes). Withdrawals are initiated only after 2FA and email confirmation. A manual review queue is also built in to avoid draining hot wallets in case of compromised accounts.
Read More : LocalBitcoins App Marketing Strategy: How to Go Peer-to-Peer and Viral
Testing & Deployment: From Local Dev to Production-Grade Stability
Shipping a LocalBitcoins-style platform isn’t just about writing code—it’s about validating every trade scenario, pushing updates without downtime, and scaling under real-world pressure. Whether I was deploying the Node.js or Laravel version, I focused heavily on environment parity, test automation, and streamlined DevOps.
Testing: Unit, Integration, and End-to-End
For the Node.js stack, I used Jest for unit testing and Supertest for integration testing of APIs. Every module—auth, wallet, trade, escrow—had its own test suite. I simulated trade workflows from start to escrow release, including edge cases like disputes and cancelled trades. End-to-end tests were built with Cypress, focusing on full buyer-to-seller flows, KYC uploads, and admin reviews.In Laravel, I relied on PHPUnit for backend logic and Laravel’s built-in test classes for simulating routes, DB seeding, and authentication. I wrote feature tests for major flows like trade creation, payment confirmation, and KYC approval. For the frontend (Blade or SPA), I manually tested using Laravel Dusk when needed.
CI/CD Pipeline
For continuous integration, I set up GitHub Actions in both stacks. Every commit triggered:
- Linting (ESLint or PHP-CS-Fixer)
- Unit/feature test suite
- Build process (Vite or Laravel Mix)
If all passed, the CI workflow tagged the build for staging.
For deployment, I used:
Node.js stack:
- PM2 to manage the Node server
- Nginx as a reverse proxy
- Environment variables via
.envanddotenv - Dockerized environment for staging and production
- MongoDB Atlas with daily backups
Laravel stack:
- Apache or Nginx
- Laravel Envoyer (for zero-downtime deploys)
- MySQL with automated nightly dumps
- Supervisor for queue workers
- Redis for session and cache management
Docker & Environments
I containerized both versions using Docker Compose. Each service—API, DB, Redis, Worker—was isolated. This helped me keep development, staging, and production perfectly aligned. In Laravel, I added .env.testing and .env.staging files to handle separate credentials. For Node.js, each Docker container used separate volumes and bind mounts to reduce dependency hell.
Monitoring and Error Reporting
I used Sentry for real-time error logging in both frontend and backend. Logs were also streamed to Loggly and stored in rotating log files. I set up health check endpoints (/api/health) and monitored server metrics via UptimeRobot and Netdata.
Read More : Pre-launch vs Post-launch Marketing for LocalBitcoins Clone Startups
Pro Tips: What I Learned (the Hard Way) While Building a LocalBitcoins Clone
After building multiple iterations of this platform across both Node.js and Laravel, I’ve learned a few things that aren’t obvious until you run into real users, fraud attempts, or performance issues. Here are the field-tested tips I wish someone told me earlier.
1. Don’t Skip Dispute Logging
Even in a trust-based P2P setup, disputes will happen. I added a dispute_logs table with structured logs like timestamps, reason codes, attachments, and admin notes. This made it easy for support teams to review and resolve without going through chat history manually. If you skip this, your admin dashboard becomes a pain to manage at scale.
2. Cache What You Can, but Don’t Go Overboard
I used Redis to cache:
- Live crypto rates (TTL: 60s)
- Verified offer lists (TTL: 30s with location/currency keys)
- Authenticated user sessions and roles
Avoid caching per-trade data or chat messages unless absolutely needed. Real-time accuracy is more important than read speed in those flows.
3. Rate Limits and Abuse Prevention
Trade spamming, message flooding, and fake offer listings are common in P2P platforms. I applied:
- Per-IP rate limits (e.g., 5 trades/minute)
- User-level cooldowns for repeated trade cancelations
- Auto-flagging users who triggered multiple disputes
In Laravel, this was middleware-based using Laravel Throttle. In Node.js, I used express-rate-limit and tracked trade event history.
4. Mobile Layout First
Most P2P traders in emerging markets use phones. I tested every screen on a 360×640 resolution before approving it. I designed mobile modals for escrow instructions, offer filtering, and messaging. For React, I used react-responsive to tweak components. For Laravel Blade, I stacked content with flex-wrap and breakpoint-based classes.
5. Deploy in Layers
Don’t ship everything at once. I started with:
- Auth + Offer Listings
- Trade System (no messaging yet)
- Admin KYC Panel
Then I layered in:
- Chat + Escrow Timer
- Fiat/Crypto Wallets
- Disputes + Reviews
Shipping in layers helped test each flow under real usage and avoid unexpected bugs between dependent modules.
Discover how much it costs to build a LocalBitcoins-like app and how to plan your budget for maximum ROI in the crypto market.
Final Thoughts: What It Takes to Build vs Buy a LocalBitcoins Clone
Building a LocalBitcoins-style platform from scratch is absolutely doable—but it’s not a weekend project. Between the moving parts of crypto trading, escrow logic, fraud protection, KYC flows, and real-time communication, it demands both technical depth and strategic product planning.
Using Node.js + React gave me more flexibility and speed for real-time features, making it ideal for teams building mobile apps or targeting global markets. Laravel, on the other hand, was faster to get up and running, especially if you’re focused on launching an MVP with server-rendered pages and lower DevOps complexity.
The real trade-off comes down to control vs convenience. Custom development gives you freedom—but it also means ongoing maintenance, security updates, and roadmap planning. If your goal is to validate an idea quickly or enter the market before competitors, you don’t always need to start from zero.
That’s why for a lot of founders I speak to, using a ready-made solution like the LocalBitcoins Clone from Miracuves is a smart starting point. It gives you a production-ready base with room to grow—whether you want to customize modules, integrate specific payment methods, or localize for your region.
As a full-stack developer, I loved the process of engineering every layer of this platform. But if I were launching this as a founder looking to go live fast—I’d seriously consider starting with a prebuilt clone and extending it only where needed.
FAQs: Founder-Focused Answers for Launching a LocalBitcoins Clone
1. Can I launch a LocalBitcoins clone without crypto custody?
Yes. You can build a non-custodial model where users manually confirm payments and crypto is transferred off-platform. In this case, your system acts more like a trading facilitator than a wallet service. However, this limits automation and may increase disputes.
2. What are the KYC and compliance requirements?
Requirements vary by country. You’ll likely need a KYC system for user verification and AML compliance. Tools like ShuftiPro or Sumsub can be integrated into both Node.js and Laravel stacks. Even if you start without full KYC, plan your architecture to plug it in later.
3. How do escrow systems work in a peer-to-peer model?
Escrow means locking the seller’s crypto during a trade and releasing it only after payment confirmation. It can be fully automated (for custodial wallets) or semi-automated with admin approval. The key is logging every action with a timestamp and enforcing trade statuses strictly.
4. Can I monetize a LocalBitcoins clone right away?
Yes. You can add a fee per trade (percentage or fixed), charge for premium offers, or run ads. Fees are automatically deducted during trade finalization. Laravel and Node.js both support this with wallet logic and configurable settings.
5. What if I need to scale to 1M+ users later?
Start with solid architecture—separate services (chat, wallet, trade engine), add Redis for caching, and use cloud databases like MongoDB Atlas or Amazon RDS. Both stacks scale with the right infra: Node.js favors microservices, while Laravel can be containerized with Horizon, Octane, and queues.
Related Articles


